
Checking the composition and nature of the soil for soil preparation is very essential before raising a kitchen garden. Every soil type acts differently in terms of texture, nutrition level, and water holding capacity. You have to adjust the soil according to the recommended standard for kitchen gardening.
The best soil for a kitchen garden is loam soil. Loam soil is a balanced mixture of sand, silt, and clay with a balanced amount of organic matter. In this blog, we will discuss how to prepare the available soil using DIY methods to create a pure kitchen garden. It includes the sustainable ways for soil preparation
Site Selection and Tillage Operations for soil preparations
Select an area which gets 5 to 6 hours of sunlight daily. Plants requires a specific duration of sunlight for photosynthesis. If you are growing plants in pots, then put your pots in the mentioned suitable site. Clean all the debris and plastic material from the selected site.
Also, remove or uproot the weeds from the site. After cleaning, loosen the soil by performing light tillage operations to break up compaction and improve aeration. Now it’s time to check the texture of the soil for a better amendment. These are the easiest and sustainable ways for soil preparation.
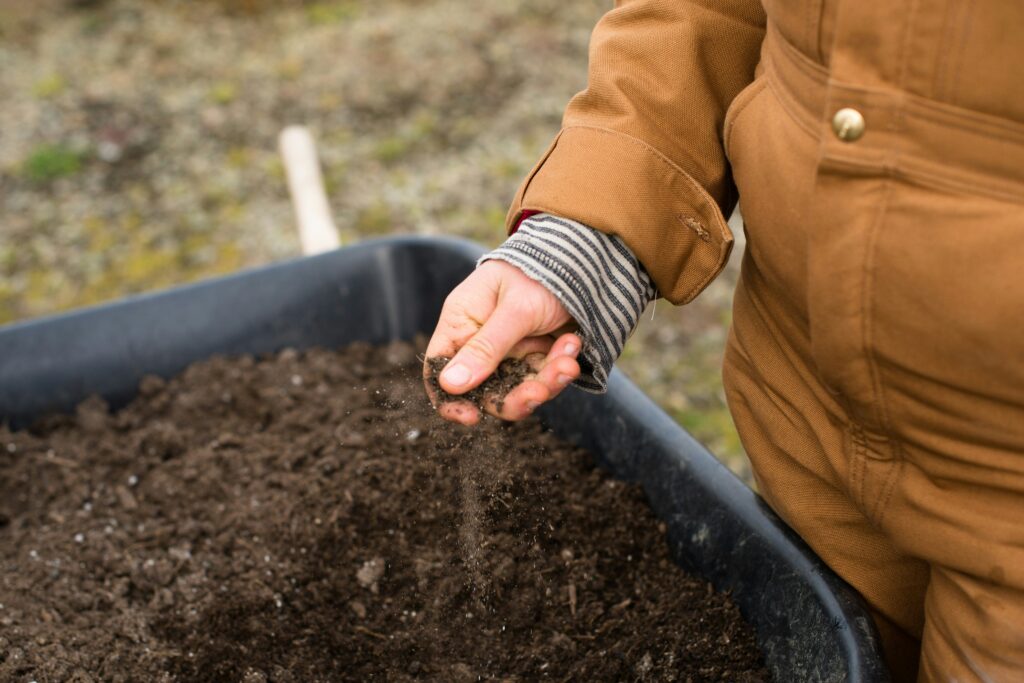
How to Know the Soil Type at Home?
There are normally 4 types of soil: sand, silt, loam, and clay. The soil type of any area can be checked easily at home. Pick a handful of soil and feel its consistency with your fingers.
Clay soil: If you note the texture is sticky and heavy, your soil is clay. It will make a shape when pinched with the hands. Particles tightly close together result in poor drainage.
Silt soil: Your soil is silt if you feel a smooth, silky, and powdery touch between your fingers. This soil has medium drainage and becomes compact when wet.
Loam soil: Loam soil has a soft and crumbly appearance when felt in the hand, contrasting with the denser feel of clay and silt; it has excellent sucking ability. Considered best for gardening purposes.
Sandy soil: Sandy soil has a gritty and rough texture. This soil is not good for those vegetables that need more water because water seeps or drains quickly.
How to estimate PH for soil preparations at home?
The optimum pH of your soil should be between 6.0 and 7.0. You can measure the pH of soil at home by using different DIY methods for soil prepration.
1. Baking soda test
This test is used to determine whether your soil is acidic or not. Take a handful of soil from the selected area as a sample. Put the soil and water in the bowl and mix well. Add a specific amount of baking soda according to the soil volume.
If you observe the formation of foam, then your soil is acidic. Intensity depends on the amount of foam observed in the soil mixture. If there is no reaction, your soil is neutral and best for the growth of vegetables. It is the sustainable way for soil preparation at home.
2. Vinegar test
This test is used to determine whether your soil is alkaline in nature or not. Take the sample from the area and put it in the bowl. Add some water so that it becomes a mud-like structure. Add some drops of vinegar to the boil.
Your soil will be alkaline if you observe the formation of bubbles in the bowl. A smaller number of bubbles indicates that the soil is slightly alkaline and vice versa. No reaction in the bowl indicates that the soil is neutral.
How to normalize the pH of soil
As mentioned earlier, vegetables and herbs grow best in slightly acidic to neutral soil. Highly acidic and alkaline soils can be normalized by following some simple methods.
1. Balance acidic soil
Acidic soil can be normalized by adding some materials easily available at home. Follow these simple and useful tips.
- Garden lime is very helpful in acidic soil. It takes two to three weeks to normalize the soil. Add garden lime in a balanced amount; a high amount causes toxic effects.
- Wood ash is also a source to neutralize the acidic source. It’s alkaline in nature, so avoid adding high doses to the soil.
- Crushed eggshells slowly release calcium in the soil, and beneficial for acidic soil. Wash and dry the eggshells after using, crush them into powder form, and add to the soil.
2. Balance the basic soil
If your soil is highly basic, then your vegetables will not grow well. Follow the tips below to normalize the soil for soil preparation.
- Compost such as peels of fruits and vegetables, well-rotted manure, and green manure will acidify your highly basic soil.
- Sulfur is a natural source to neutralize the alkaline soil. Onion peels, broccoli stems, and waste of mustard plants release sulfur in the soil.
- Don’t throw the Coffee waste in the basket, it’s small amount will normalize the alkaline soil. Coffee grounds are slightly acidic.
How to check the draining of the soil
To put balanced amount of water, you should know the water-holding capacity of the soil. Make a 12-inch deep hole in your garden and fill it with water to the brim. Left the hole untouched. Your soil is ideal if it drains the water completely in 4 to 5 hours.
Sandy soil will drain the water in just 3 hours, as it has very poor water-holding capacity. In clay soil, water will be retained for a long time. Add some sand to the clay soil, and in case of sandy soil, add a high amount of useful organic matter.
Land leveling and seedbed preparation
After all soil amendments, the next step is land leveling and seedbed preparation. Different vegetables grow well on specific types of seedbeds. Let’s discuss commonly used seedbeds and their advantages for soil prepartion.
1. Raised seedbed
A raised seedbed is normally used to grow tomatoes, chilies, mint, spinach, and herbs. This type of seedbed can easily be created using a simple instrument. Pulverize the soil and make a layer 6 to 7 cm above the ground level.
Advantages
- Your seeds will germinate faster and easily
- Weed management is easy in a raised seedbed.
- It is best for those vegetables that are prone to waterlogging stress.
2. Flat seedbed
A flat seedbed is a smooth and leveled surface, suitable for broadcasting and line sowing. Onions, carrots, turnips, coriander, and fenugreek are bestgrown vegetables on a flat seedbed. These Plants need an optimum amount of water.
Advantages
- A best leveled soil ensures even and uniform irrigation.
- Suitable for both line sowing as well as broadcasting.
- Best for those vegetables that need an optimum level of moisture.
3. Sunken seedbed
Some vegetables are water-loving and need more water to grow well. Mint, radish, arvi, and mustard greens are some of them. Dig the soil 15 to 25 cm below the ground level to create a sunken seedbed.
Advantages
- Sunken seedbeds are very useful in dry areas to overcome drought stress.
- Water retention for a long time.
- It helps to protect the growing seedlings from the wind.
Sowing and planting of vegetables
Now your soil is ready to grow vegetables and herbs. Make a list of seasonal vegetables and focus on those that can be easily grown and frequently used in the kitchen garden. Buy seeds and seedlings from the market.
Divide your area into equal portions for planting and sowing each vegetable and herb separately. Maintain a little bit of spacing in each portion and connect them with the main water channel to irrigate properly. You can use a container to water the plants.
Summer season vegetables and herbs
| Vegetables/Herbs | Time of sowing |
| Tomato | February to March |
| Cucumber | March to May |
| Fenugreek | February to March |
| Okra | March to July |
| Chili | February to April |
Winter season vegetables
| Vegetables/Herbs | Time of sowing |
| Carrot | September to November |
| Radish | September to December |
| Garlic | October to November |
| Turnip | September to November |
| Coriander | October to December |
Post-Sowing Soil Preparation and Practices
Proper care after sowing is very crucial to raise a healthy kitchen garden. Post-sowing amendments help to maintain the soil and plant health.
1. Water Management
After sowing water the plants daily in the morning and evening. At the time of sowing apply water to avoid displacing seeds. If you pour too much water to the soil, your roots will suffocate due to a lack of oxygen, which can lead to the death of plants.
2. Mulching
Material like compost and dry leaves used to cover the soil surface to provide nourishment is called mulching. It protects the kitchen garden from weed infestation. This process helps in moisture conservation as well as temperature regulation.
3. Pest and disease protection
Delicate leaves of newly grown plants are more likely to be attacked by pests and diseases. So there should be proper care of new and old plants as well. Use a homemade spray to control pests as chemicals penetrate and disturb the internal mechanisms of plants.
4. Tillage operations
In most cases, the soil becomes compact after irrigation. So it’s important to loosen the soil and remove compaction for proper aeration. This process will help the roots to spread freely in search of minerals and water. It also improves microbial activity in the root zone. This blog is the complete description of sustainable ways for soil preparation.
Leave a Reply