- All
- Gallery Filter
Clay soil
If you note the texture is sticky and heavy, your soil is clay. It will make a shape when pinched with the hands. Particles tightly close together result in poor drainage.
Silt soil
Your soil is silt if you feel a smooth, silky, and powdery touch between your fingers. This soil has medium drainage and becomes compact when wet.
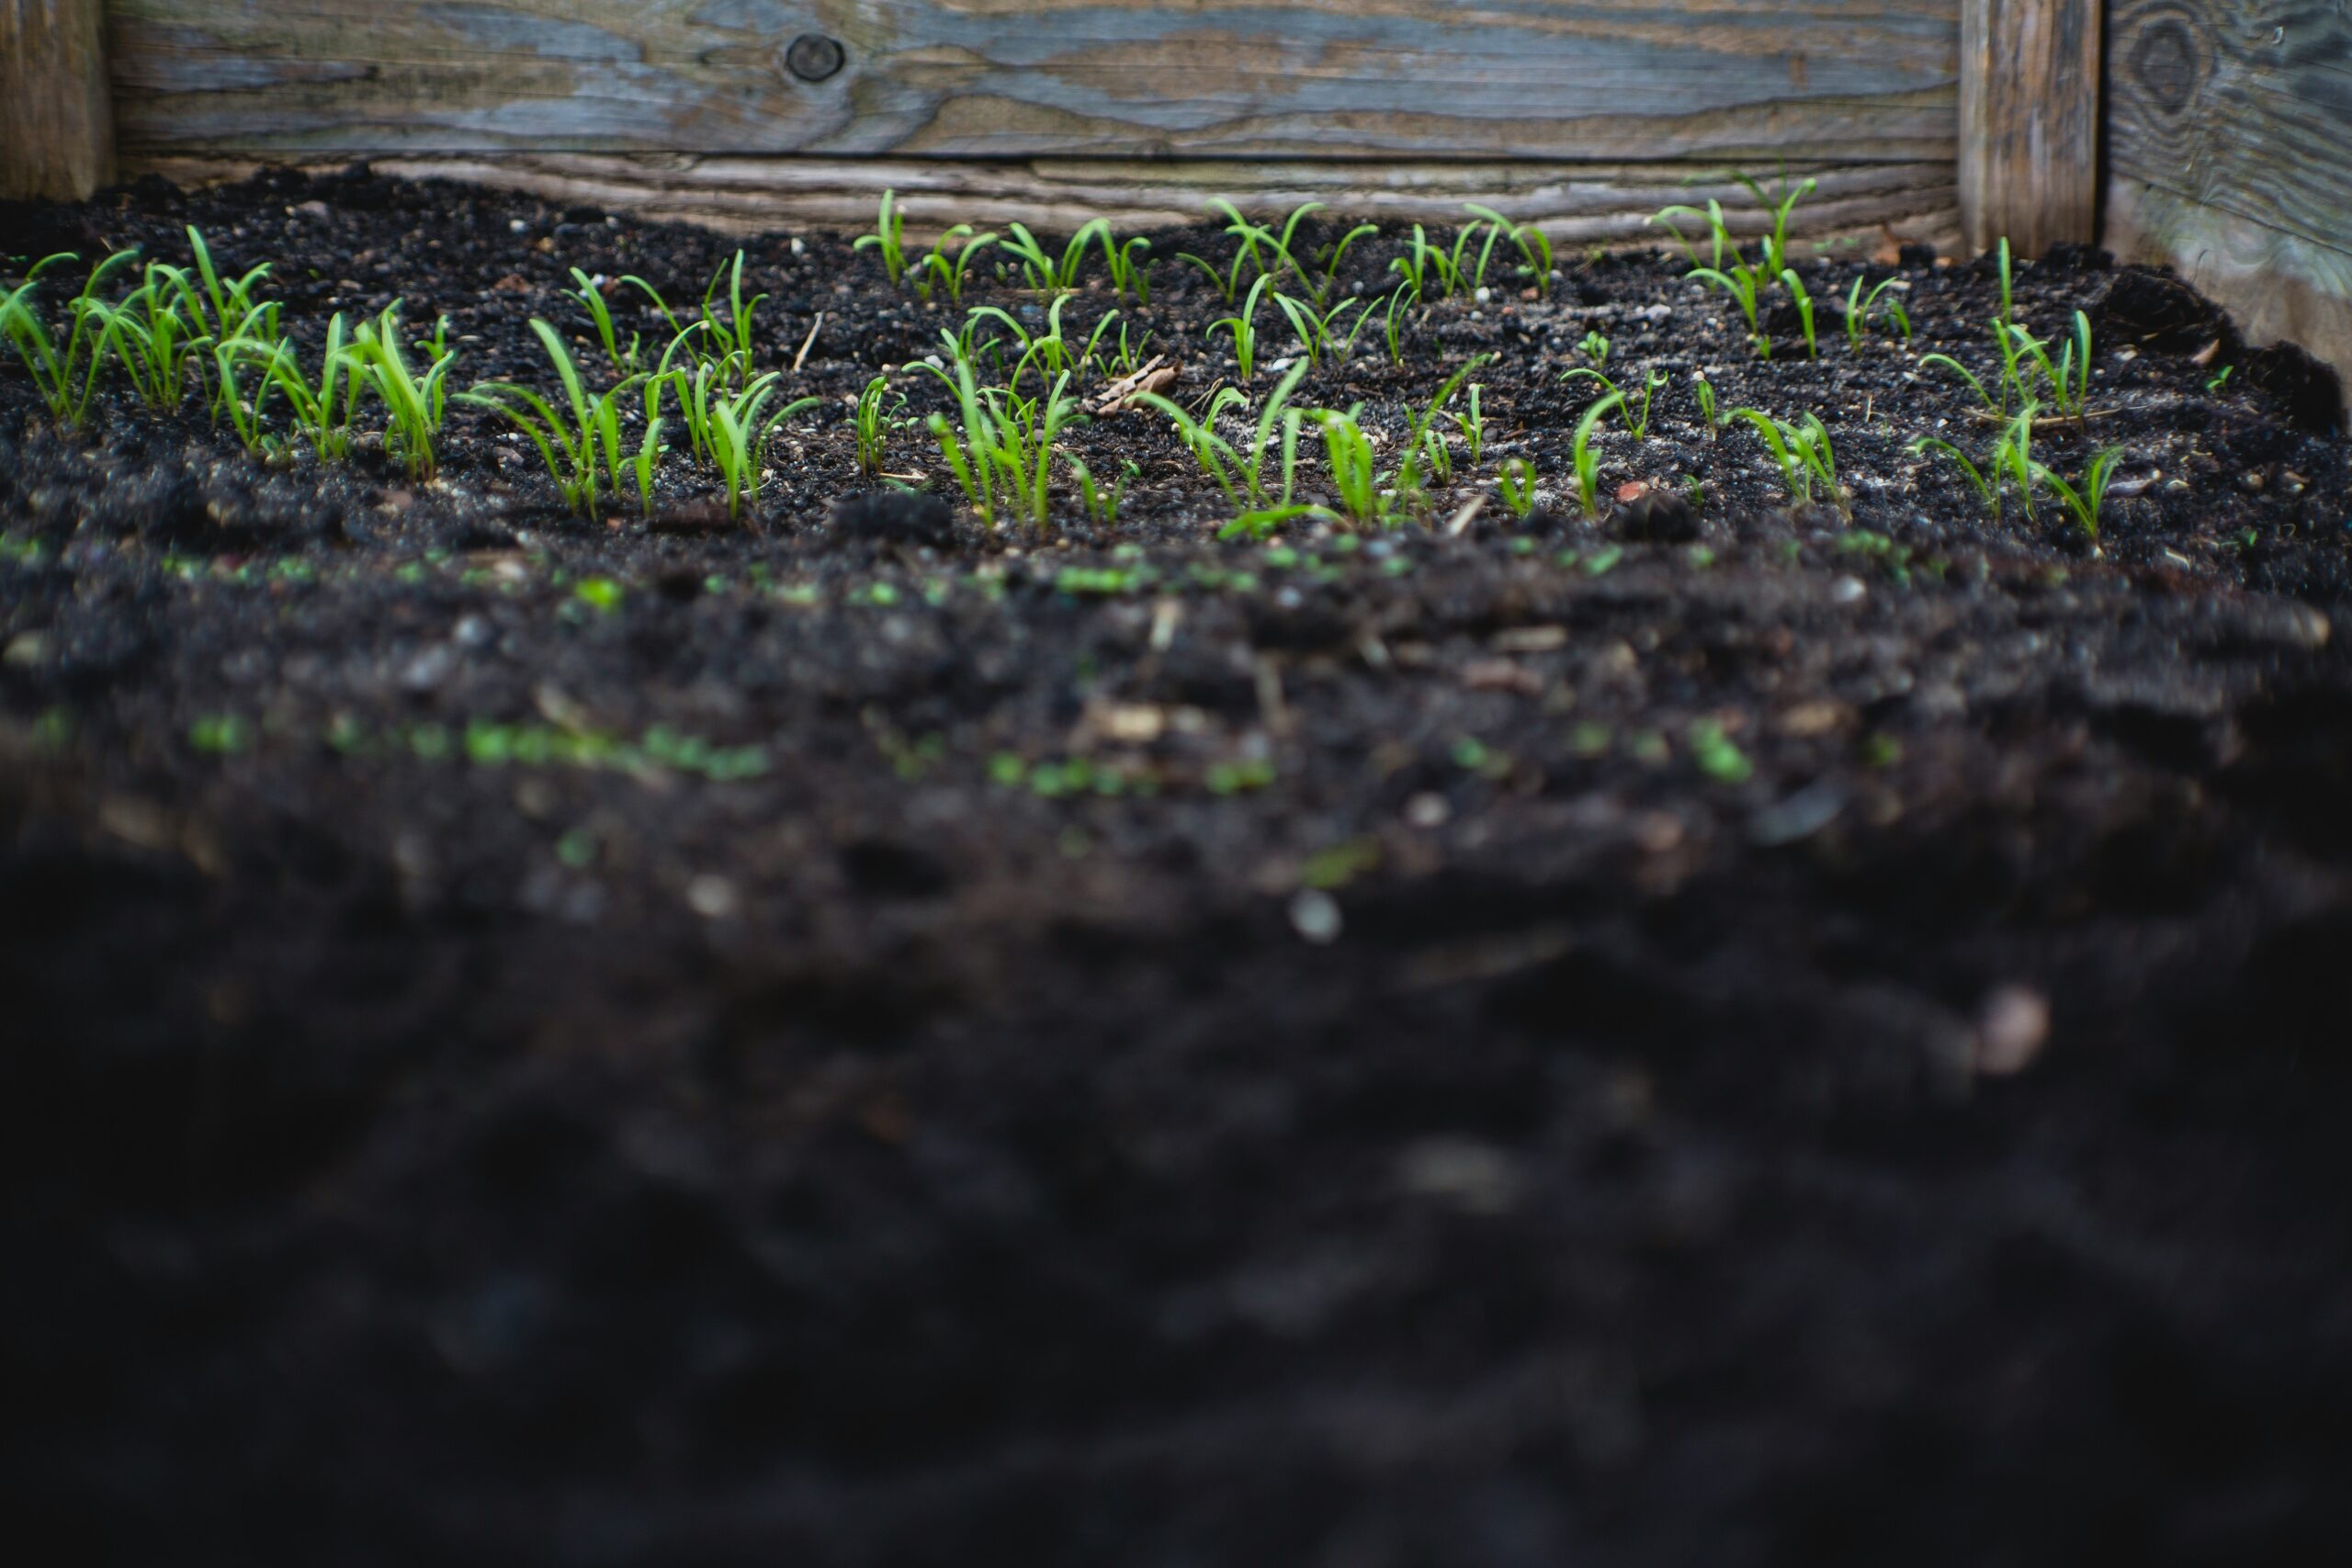
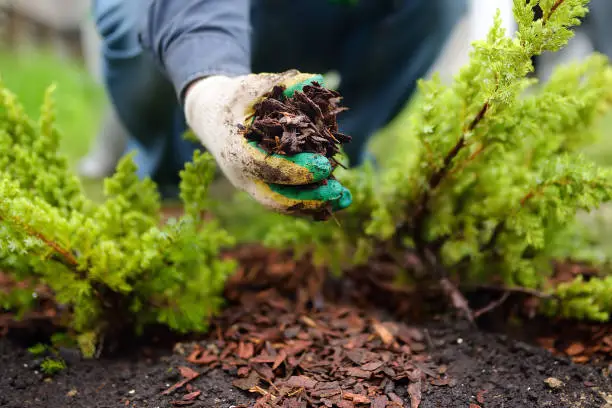
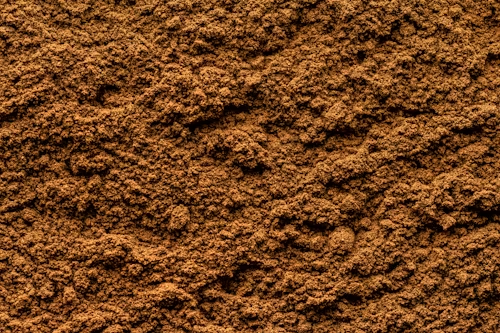
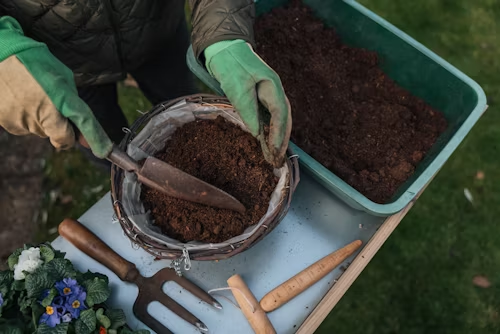
Loam soil
Loam soil has a soft and crumbly appearance when felt in the hand, contrasting with the denser feel of clay and silt; it has excellent sucking ability. Considered best for gardening purposes.
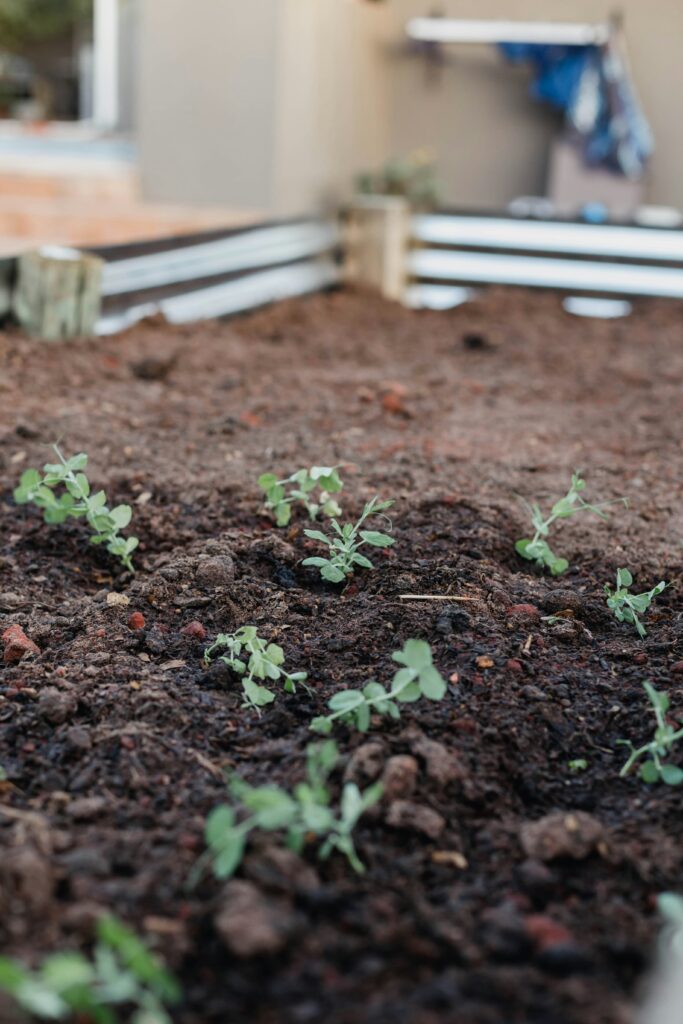
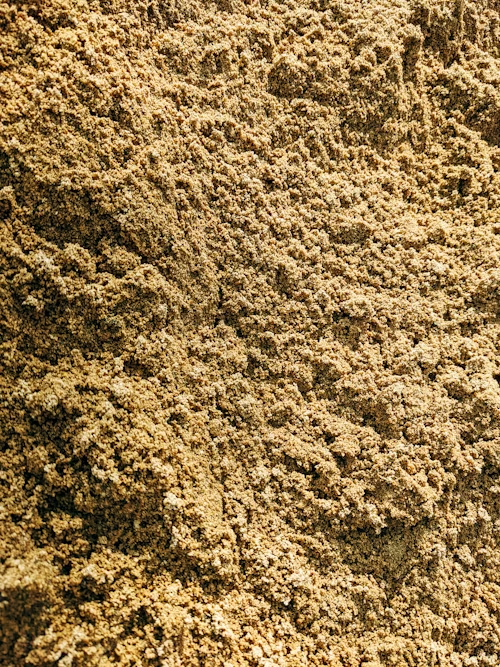
Sandy soil
Sandy soil has a gritty and rough texture. This soil is not good for those vegetables that need more water because water seeps or drains quickly.